Unlock the Secret to Perfect Plain Long Grain White Rice in Your Instant Pot
For many home cooks, the Instant Pot has become an indispensable kitchen gadget, revered for its ability to transform complex recipes into simple, hands-off affairs. One of its most celebrated uses is cooking rice – but not all rice is created equal, especially when it comes to pressure cooking. If you’ve ever tried to make perfect plain Instant Pot long grain rice only to end up with a sticky, undercooked, or mushy mess, you’re not alone. The secret lies in understanding that "long grain white rice" is a broad category, and the cooking method for your everyday, non-aromatic variety differs significantly from its more delicate cousins like Basmati or Jasmine.
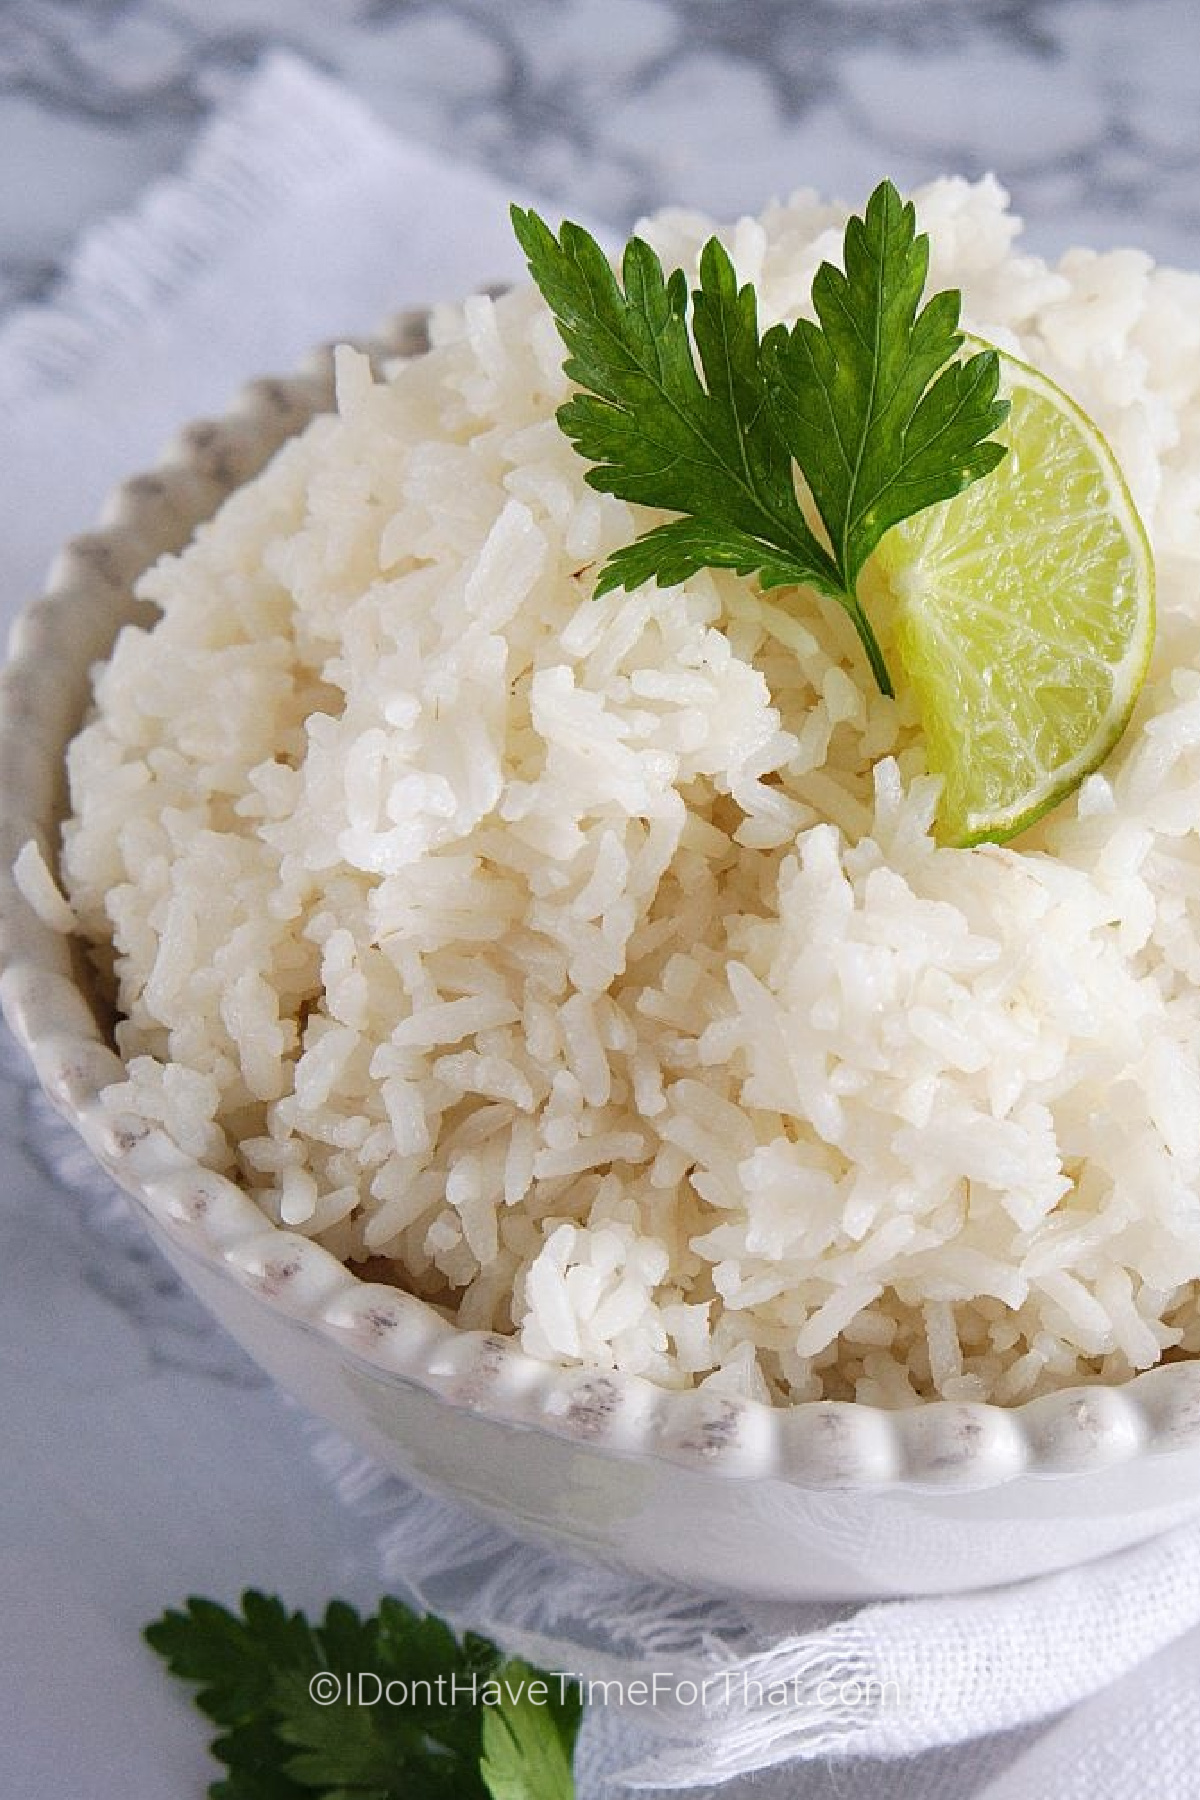
Plain long grain white rice is a versatile, budget-friendly staple that forms the foundation of countless meals around the world. Whether you're serving it alongside a hearty curry, as a base for stir-fries, or as a simple side dish for weeknight dinners, getting it right can elevate your entire meal. This comprehensive guide will walk you through the precise steps to achieve consistently fluffy, perfectly cooked plain long grain white rice in your Instant Pot, ensuring each grain maintains its integrity without clumping.
The Instant Pot Rice Riddle: Why Generic "Long Grain" Recipes Often Fail
The frustration is real: you search for an Instant Pot long grain rice recipe, follow the instructions religiously, and are met with disappointing results. The culprit? Most recipes labeled simply "long grain white rice" online are actually tailored for Basmati or Jasmine rice. While these are indeed long-grain varieties, their delicate structure and lower starch content demand less water and shorter cooking times. Plain long grain white rice, often sold as "regular" or "enriched" long grain rice, has a firmer texture and a higher starch content, requiring a slightly different approach.
Attempting to cook plain long grain rice using Basmati or Jasmine settings (typically a 1:1 rice-to-water ratio and 3 minutes of high pressure with a 10-minute natural release) almost always leads to undercooked, unpalatable results. The grains will be hard in the center, and the overall texture will be far from the fluffy perfection you desire. Our mission here is to demystify the process for the specific characteristics of plain long grain white rice, ensuring your Instant Pot delivers perfectly tender, separate grains every single time.
Essential Steps for Perfect Instant Pot Long Grain White Rice
Achieving consistently flawless Instant Pot long grain rice comes down to a few critical, yet simple, steps. Don't be tempted to skip any of these, as each plays a vital role in the final texture and quality.
Step 1: The All-Important Rinse
This is arguably the most crucial step for achieving separate, non-sticky grains. Plain long grain white rice often has a significant amount of surface starch, which, if not removed, will cause the rice to clump together and create a gummy texture. Rinsing also helps to hydrate the outer layer of each grain, which contributes to more even cooking and can even help prevent a "burn" notice in your Instant Pot.
- How to Rinse: Place your desired amount of rice in a fine-mesh sieve or a bowl. Run cold water over the rice, swirling it gently with your hand. You'll notice the water appears cloudy at first – this is the excess starch. Continue rinsing and draining (or changing the water) until the water runs mostly clear. This usually takes 3-5 rinses. Allow the rice to drain for a minute or two before adding it to the Instant Pot.
Step 2: The Right Ratio – Water to Rice
This is where plain long grain rice truly diverges from its Basmati and Jasmine counterparts. While those varieties often thrive on a 1:1 ratio, plain long grain requires slightly more liquid to ensure thorough cooking and tenderness without turning mushy. Our carefully tested ratio accounts for the Instant Pot's efficient cooking environment, where minimal liquid evaporates.
- For every 1 cup of plain long grain white rice, use 1.25 cups (1 and 1/4 cups) of liquid.
- This ratio ensures the rice fully absorbs the liquid, resulting in tender, distinct grains. If you prefer your rice slightly softer, you can increase the liquid to 1.33 cups (1 and 1/3 cups) per cup of rice, but 1.25 is generally the sweet spot for perfection.
- Liquid Choice: You can use plain cold water, chicken broth, vegetable broth, or even a diluted stock for added flavor.
Step 3: Seasoning for Flavor
A little seasoning goes a long way in enhancing the flavor of your rice. Adjust the amount based on your preference and whether you're using plain water or a seasoned broth.
- Salt: A good starting point is 1/2 teaspoon of salt per cup of uncooked rice if you're using broth. If you're using plain water, you might want to increase this to 3/4 to 1 teaspoon of salt per cup of rice. You can always add more salt after cooking if needed.
- Optional Additions: For an even richer flavor, consider adding a tablespoon of butter or a teaspoon of neutral oil (like olive or canola oil) to the pot along with the rice and liquid. This also helps prevent foaming and adds a lovely sheen to the finished rice.
Cooking Time and Release Method for Flawless Grains
With your rice rinsed, measured, and seasoned, the final hurdle is setting the Instant Pot correctly. The pressure cooking duration and release method are crucial for achieving that ideal fluffy texture.
Pressure Cooking Duration
Unlike the quick 3-minute cook time often associated with Basmati, plain long grain white rice needs a bit more time under pressure to soften properly without becoming mushy. After extensive testing, we’ve found the perfect balance:
- Set your Instant Pot to High Pressure for 5 minutes.
- Ensure the sealing ring is properly in place and the vent is in the "Sealing" position.
Natural Pressure Release (NPR) – Don't Skip It!
The post-cook natural pressure release is just as important as the cook time itself. This crucial step allows the residual steam to continue cooking the rice gently, ensuring the grains fully expand, absorb the remaining moisture, and settle without bursting. Skipping this and doing an immediate quick release often results in undercooked, clumpy, or unevenly cooked rice.
- Once the 5-minute cooking cycle is complete, allow the Instant Pot to naturally release pressure for 10 minutes. The display will count up the minutes (e.g., L0:10).
- After 10 minutes, carefully switch the venting knob to the "Venting" position to perform a quick release (QR) of any remaining pressure. Be cautious of the steam.
- Once the float valve drops, you can safely open the lid.
Tips for Serving, Storage, and Enjoying Your Perfect Rice
Once the lid is open, you'll be greeted by perfectly cooked, fluffy Instant Pot long grain rice. A few final touches will ensure it’s ready for your plate.
- Fluff with a Fork: Gently fluff the rice with a fork immediately after opening the lid. This separates the grains and releases any remaining steam, preventing the rice from becoming dense or sticky.
- Serve Immediately: Serve your perfectly cooked rice hot as a versatile side dish or the base for your favorite meals. It's excellent with curries, stews, grilled meats, or as a component in a rice bowl.
- Storage for Meal Prep: Perfect Instant Pot long grain white rice is fantastic for meal prep. Once completely cooled, store leftover rice in an airtight container in the refrigerator for up to 3-4 days. It reheats beautifully in the microwave with a splash of water or broth. For longer storage, you can freeze it in single-serving portions for up to 2-3 months.
Conclusion
Mastering the art of cooking plain long grain white rice in your Instant Pot is a game-changer for any home cook. By understanding the distinct needs of this humble grain and following these precise steps – from rinsing to the specific water ratio, cook time, and crucial natural release – you can consistently achieve fluffy, tender, and perfectly separated grains every time. Say goodbye to guesswork and mushy rice, and hello to effortless, delicious results that will complement any meal.
